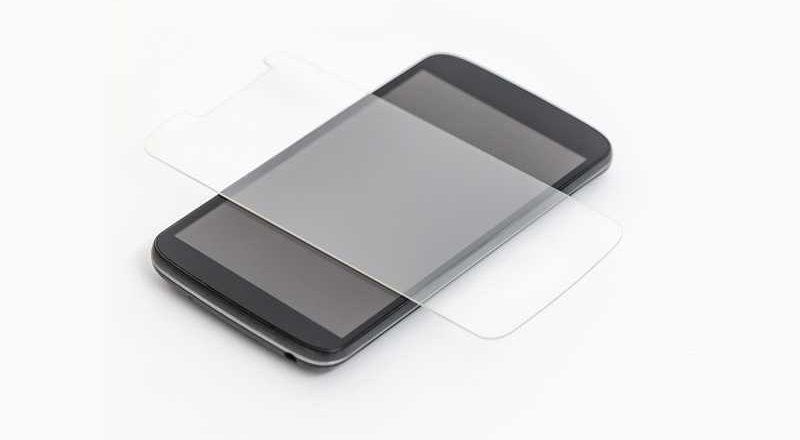
A few days ago, I wanted to clean the screen protector of my iPhone because some impurities had slipped maliciously between the screen protector and the screen over time. It’s a bit more complicated than cleaning your glasses, I struggled a lot and when I finally got there I said I had to share this tip.
This trick can also be useful if you’ve ever pulled down your screen protector and, despite everything, there are still some stubborn little bubbles left. These small bubbles are due to a little dust and other volatile impurities that are placed on the electrostatic part of the protection during installation.
It may also happen that, during installation, you leave some fingerprints on the “adhesive” part of the protection. I will explain how to clean all this and replace the screen protector optimally.
Cautions
However, avoid playing “wild” by cleaning the protection – it’s plastic anyway! And it all depends on the quality of the coating, you can tear off the electrostatic layer by rubbing too hard, so a minimum of gentleness is recommended .
I also want to clarify that this trick does not remove scratches from your screen protector, it only allows you to clean the part of the screen protector that is in contact with the screen so you can put it back by removing any defects. from a first pose somewhat dangerous!
Equipment
- Warm water
- 1 wooden stick or a bird feather (no ostrich, on the other hand, it’s a bit big!)
- Liquid soap
- 1 hair dryer
- 1 container for warm water
Duration of the operation
Estimated time : 5-10 minutes depending on agility and hair dryer.
Step-by-step procedure
- Remove the screen protection from a corner with the toothpick or a small stiff and pointed, but not hard object (no knife tip, for example!!). Otherwise, you will scratch the screen directly !!).
- Clean the display glass with a lint-free cloth (chamois, glasses cloth, etc.) to remove dust and debris.
- Put a little warm water in the container, just enough to completely submerge the film.
- Wet one hand and coat the fingertips (except the thumb of this hand) with liquid soap (mild shampoo, dish soap, etc. will also work).
- Gently rub both sides of the film with your soapy fingers without losing the feel of the film (once wet, the adhesive side is very difficult to distinguish. Therefore, always be aware of its position).
- Rinse the film.
- Let the film drip for a few seconds in an upright position, pressing it against a plastic support to let the water run off. Take advantage of this time to dry your hands.
- If there are any drops of water on the film, shake it gently, taking it by the sides without placing your fingers on the sides of the film.
- With the hair dryer on low speed and low heat, dry the screen protector at a sufficient distance so that the film “floats” delicately without “breaking”, while holding it horizontally, with the adhesive side facing down. It should be lifted and not twisted.
- When there are no traces of water left, replace your protective film as the first time, starting at one edge and delicately depositing the adhering film as you go.
- Remove air bubbles with stiff cardboard, as if you were assembling a tapestry (arrrrg, Valérie Damidot, get out of my body !!!).
- Finally you should have a dust and lint free screen protector. It may be that some will manage to slip off during installation, it’s up to you if you want to repeat the operation or not. It depends if your environment is dusty or not.